The first hour in a new rental is a blur of boxes, keys, and a mental map of where the couch should go. Somewhere in that hour is the most useful task you will do all lease: recording what the unit looked like before your furniture, your pets, and your daily life left a mark on it. Landlords should do it too. The same record that protects a tenant's deposit also protects an owner from paying for damage that was never theirs. Here is how to do it properly, whether you are handing over keys or receiving them.
Why an Empty Unit Is Worth an Hour of Your Time
Deposit disputes rarely hinge on dramatic destruction. They hinge on small, arguable things: a scratch in the hardwood, a stain on the carpet, a chip in the countertop, a dent in the fridge door. Months later, memory is unreliable, and "I'm sure that was already there" is not a strong argument.
An empty unit is also the easiest thing in the world to photograph. No furniture casts shadows across the walls, no rugs hide carpet stains, no boxes block closet doors. If you can, run the inspection before moving anything in. If your landlord offers a joint walkthrough, take it. Bring your phone, a charger for testing outlets, and something to write with.
How to Take Photos That Actually Hold Up Later
Start wide, then get close
For each room, take one shot from the doorway that captures the whole space. Then shoot close-ups of anything imperfect. The wide angle proves where the close-up came from. Without it, a photo of a scratch on a wall could be from anywhere.
Turn on every light
Overhead fixtures, lamps, closet lights, the range hood. Dark photos hide flaws and are easy for the other side to dismiss. Shoot in daylight where you can, and open the blinds so window frames, sills, and latches are visible.
Make the date provable
Use a camera app that embeds the date, or hold a dated object in frame. Keep the originals. Do not crop, filter, or send compressed copies. Move the files to cloud storage or email them to yourself the same day, so a timestamp exists somewhere other than your phone.
Photograph the boring places
Ceilings, baseboards, corners, the inside of cabinets, under sinks, window tracks, the back of the closet. Damage hides exactly where nobody looks until a deposit is on the line.
A Room-by-Room Photo List
- Entry and hallways: door and frame, locks and deadbolt, peephole, flooring transitions, scuffs along the wall where furniture will pass.
- Living areas: every wall from two angles, ceiling for stains, outlets and switches, blinds raised and lowered, flooring near doorways.
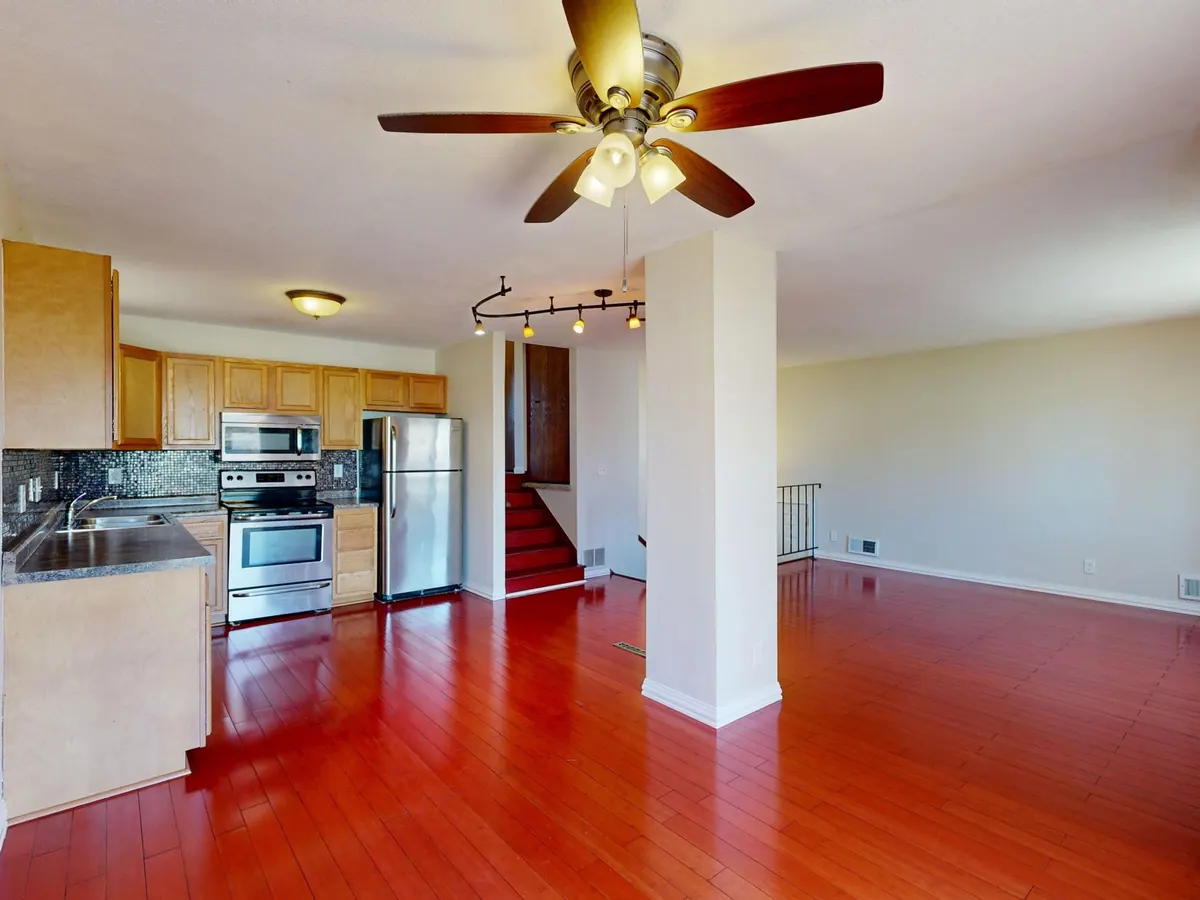
- Kitchen: each appliance open and closed, inside the fridge, freezer, oven, and dishwasher, burner grates, cabinet interiors, sink and faucet, counters and backsplash, the cabinet under the sink.
- Bathrooms: toilet base and tank, tub and shower surround, grout and caulk lines, vanity and mirror, exhaust fan, ceiling above the tub.
- Bedrooms: closets with shelf and rod, window treatments, carpet, doors and latches.
- Utility areas: water heater, furnace, breaker panel, laundry hookups, smoke and carbon monoxide detectors.
- Exterior and shared space: your parking spot, storage locker, balcony or patio, exterior door, mailbox, and any amenity assigned to the unit.
Write Down What a Camera Cannot Say
Photos are silent about how things work. A burner that clicks but never lights, a window that sticks halfway up, a toilet that runs for thirty seconds after flushing, a dishwasher that pools water in the bottom corner. None of that shows up in a still image.
Test as you photograph. Run each appliance through a short cycle. Flush every toilet. Turn on every faucet and watch the drain. Open and close each window and door. Plug your charger into every outlet. Switch the heat and the air conditioning on and let them run. Then describe the results in plain language, with room names and dates. Something like: "Primary bedroom, right window, does not latch; will not stay closed in wind." That sentence is worth more than ten photos.
A good condition report does not accuse anyone of anything. It simply states what was true on a specific day, in a specific room.
Get the Report Signed, Dated, and Shared
Turn your notes into a one- or two-page condition report. List the rooms in the same order you photographed them, note the general condition of each, and attach the flaws you found. Both parties sign and date it, and each keeps a copy.
If the landlord declines to sign, do not panic. Email the written report with your photos the same day or the next day and say plainly that this reflects the unit's condition at move-in. That email creates a record with a date on it. Keep your copy in two places: a folder on your computer and cloud storage or an email account you will still have in three years.
Normal Wear Versus Damage
Broadly speaking, normal wear includes faded paint, minor scuffs, small nail holes, carpet worn thin along a walking path, and grout that has discolored over time. Damage tends to mean burns, pet stains, large holes, broken fixtures, missing items, and stains left by neglect. The line between them is not always clean, and the rules differ by location and by lease. Read your own agreement, check your local tenancy rules, and if a dispute turns serious, get advice from a tenant association or a qualified professional rather than arguing it out over text.
Do It All Again on the Way Out
On move-out day, repeat the routine in the same order, from the same angles, with the same lights on. Matching pairs of photos are far easier to compare than a random collection, and they make the conversation short. Get a signed move-out report if you can, keep receipts for any cleaning or repairs you paid for, and leave the unit as close to its move-in condition as ordinary living allows. An hour of organized documentation at the start is what makes that final walkthrough uneventful.
Photo: saweang / Pixabay